

This is going to be an office desktop. On top of everything, I want it as small as possible, subject to my performance requirements. Currently my usage model involves no GPU-heavy applications, so I can live with integrated graphics. Yet I want a case with dual PCI slots for potential upgrades. It better has active air intake. It must be able to support at least two 2.5” drives without compromising video card space.
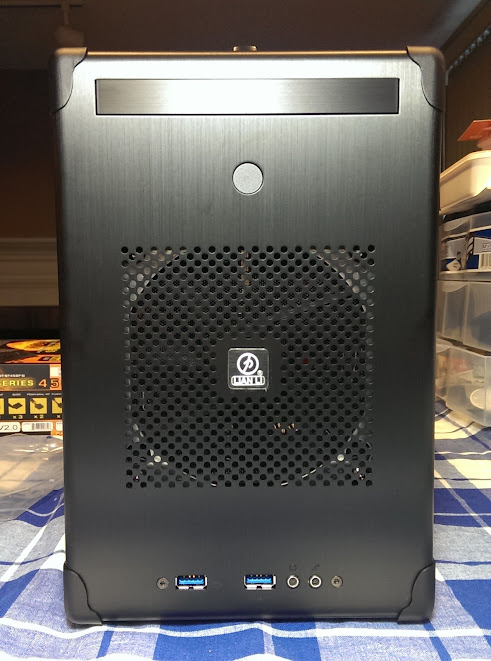
In the Lian-Li world two products meet my criteria, PC-Q11 and PC-TU100. The two share a very similar design (also shared with PC-Q07 and PC-Q03). I opted for TU100 because it’s smaller.
I actually don’t like the handle or those ugly corner bumpers. I won’t carry the case around all that often. But in terms of functionality TU100 is impeccable.
Besides the size advantage (from my perspective), I like the fact that the motherboard is installed on a standalone rack rather than on the side panel. Working in the case can be a lot easier this way.
The size advantage comes as a result of the slim ODD, SFX PSU and less room for hard drives. I am totally fine with these trade-offs. There are decent SFX PSUs on the market (think Silverstone). Slim ODDs should work just fine like any regular ODD, if I am going to use ODD at all. The only thing missing is a standard (5.25″) ODD bay’s flexibility. It can be used for fan controllers, card readers, hot-swap HDD bays, extra internal HDD bays, or even a drawer. I still think Q11 is the better choice if you want to build a small gaming rig with minimal compromise in expandability and compatibility, but again size-wise Q11 is the absolute largest Mini-ITX case I would ever put ON a desk. Anything bigger belongs to the floor and honestly I don’t see the point of using a Mini-ITX platform if your case is big enough to house a microATX.
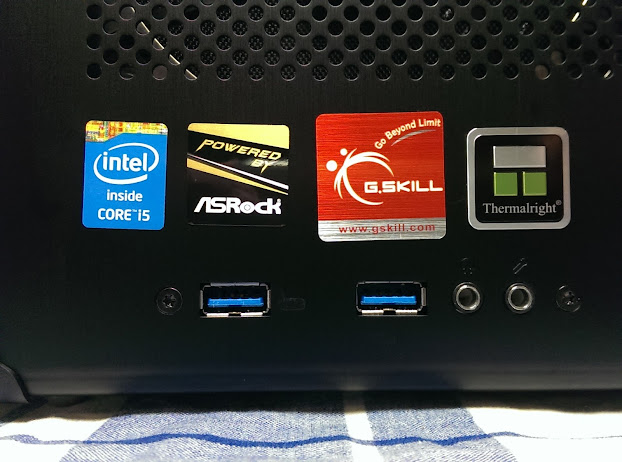
I want the system to be very responsive in everyday use, which means a good SSD and high single-thread performance. I decided to go with 4670K instead of 4770K and save $100. That 0.1 GHz and Hyper-Threading won’t make a huge difference in my use case. I want to use factory-overclocked memory – simply because I have never properly overclocked memory before. Sadly I was caught up in a memory price hike because of the SK Hynix Fire in China. After some research I decided that DDR3-2400 strikes a good balance between price and frequency, so I bought a pair of:
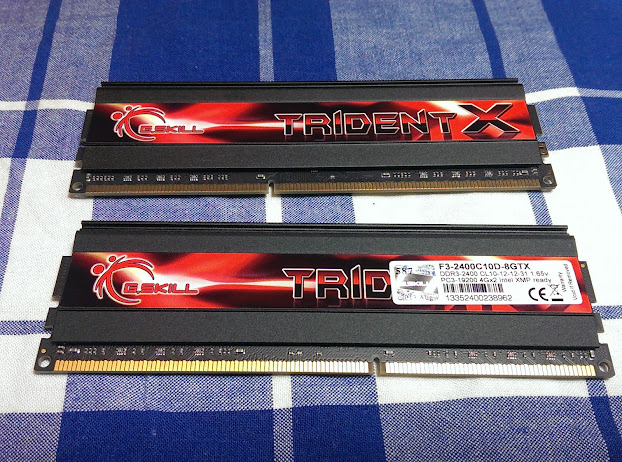
It turned out to be a good buy performance-wise as AnandTech later found that DDR3-2400 CL10 is also a good balance between frequency and latency.
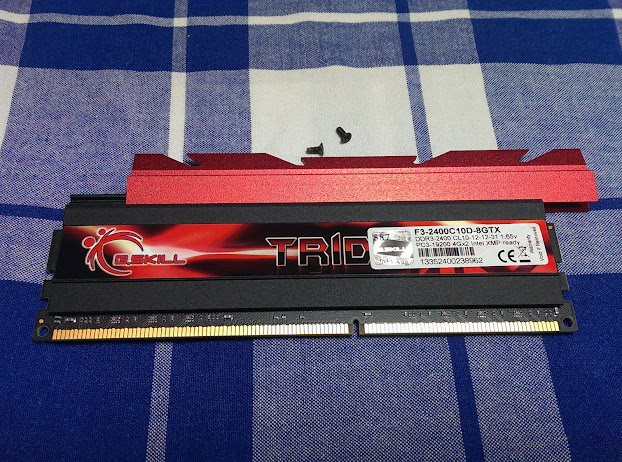
What’s nice about about this set is that the heat spreader fin is removable. I did not start our looking for something like this – I did not even know such memory modules existed. I am glad I found this pair. Memory with exotic heatsink would not live peacefully with the Thermalright AXP-200, which I will talk about later.
I was considering going light on the motherboard, but memory overclocking rules out everything but Z87. Unfortunately Z87 boards are rarely built for the budget-minded.
During the draft phase, I got an Intel 525 120 GB when it was on sale for $100. $100 for 25 nm MLC and 5-year warranty is a very good deal. Normally you only get Samsung 840 EVO at this price.
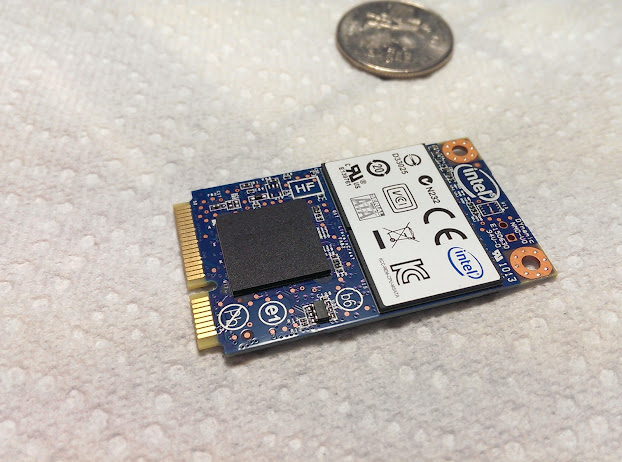
One benefit of using an mSATA drive is that it saves a pair of SATA data and power cable. Less cables is not my priority, but it is a nice feature to have. In an Mini-ITX case SATA cables, especially those firm ones that come with the motherboard, can be a PITA to route and organize as I discovered during my PC-Q07 build. They are just too firm and too bulky and often get in the way when I try to reach other components. One workaround is to use soft SATA cables. Amphenol makes pretty good ones. Using mSATA is obviously a more radical solutions as it gets rid of cables all together, although you are mostly likely limited to only one drive. I do wish what went on sale was the 240 GB version.
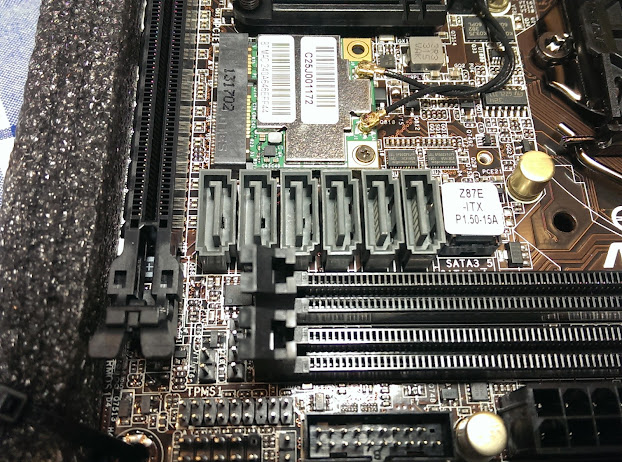
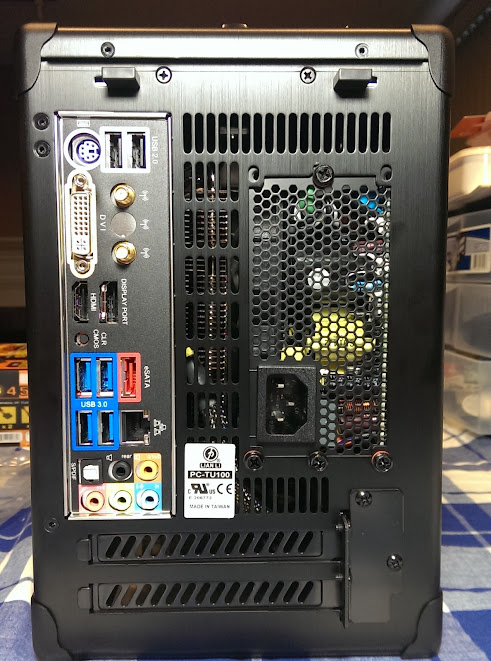
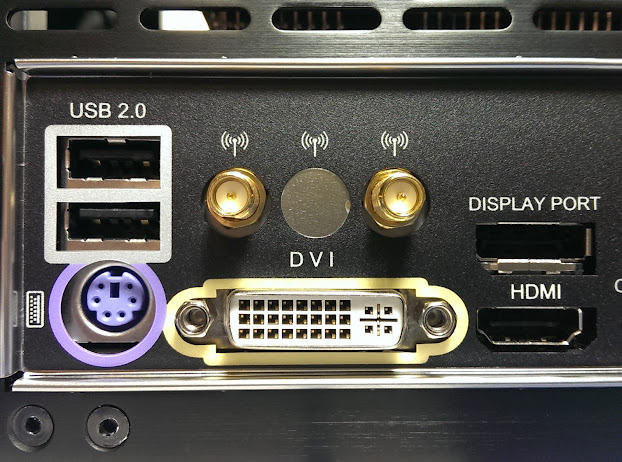
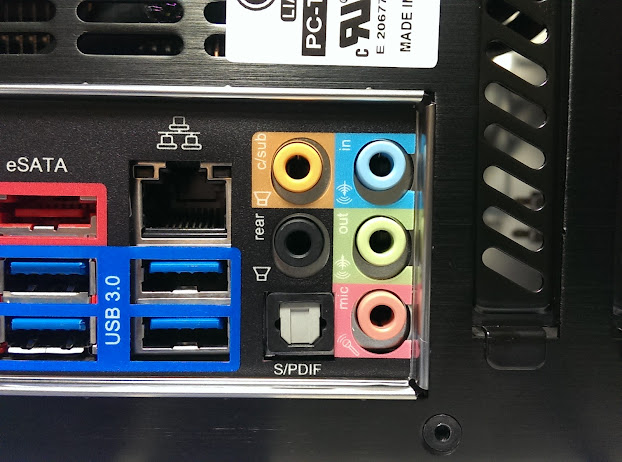
I thought most Mini-ITX Z87 would come with mSATA. I was very wrong. Only AsRock Z87E-ITX has a mSATA port as far as I know, so that left me no choice on the motherboard side. Luckily Z87E-ITX is a very good product in this segment. It sits above the $125 GIGABYTE Z87N-WIFI, packing 802.11ac WiFi, better audio chip (ALC1150 vs. ALC892) and better headphone amplifier (I was a little bit into audio at that time). The $190 ASUS Z87I-DELUXE has much better CPU VRM although other features are similar. The AsRock was $165 at the time, and went as low as $140 shortly after my build.
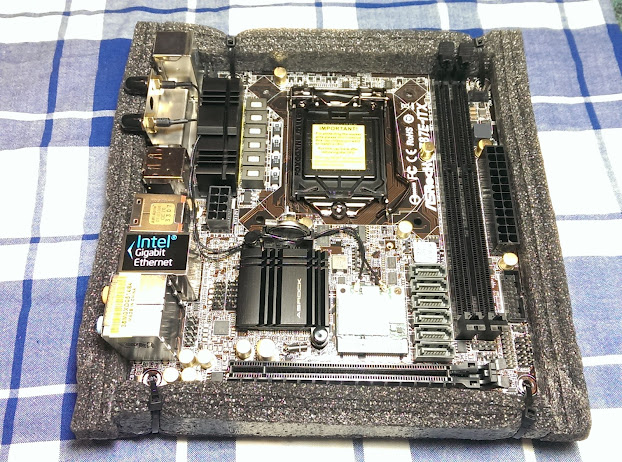
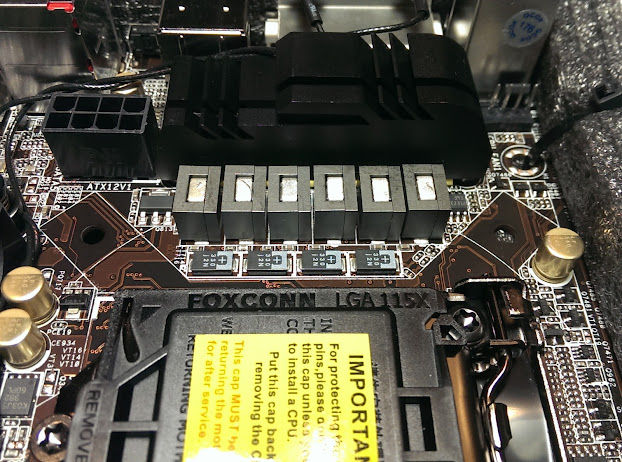
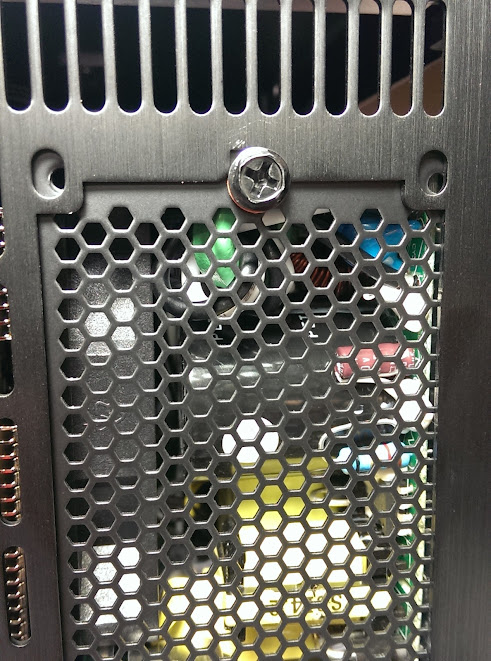
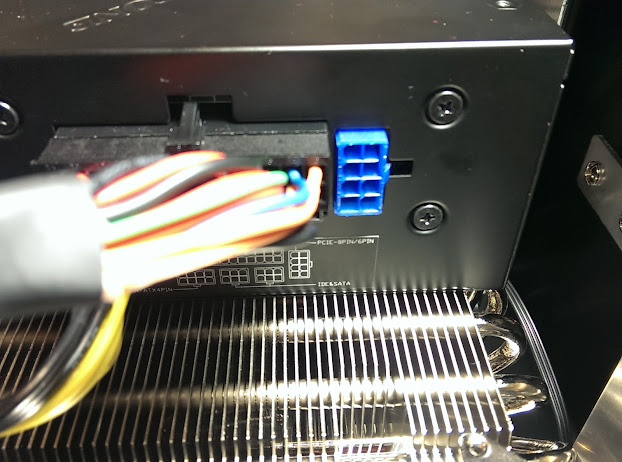
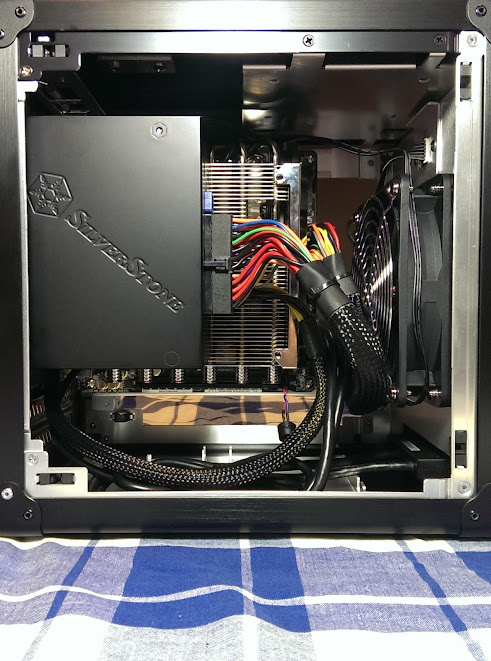
I have been thinking for a while about how the cooling should work in Lian-Li cases of this type. Here is what I think is optimal. The PSU fan should face inward (toward the motherboard) as I have found here. The CPU heatsink needs to be as big as possible, ideally filling up all the room between PSU and motherboard. There should be an intake fan in the front in order to feed fresh air towards the heatsink. With sufficient pressure, warm air would be squeezed out of the case through the openings above the I/O panel. Some of the warm air is also absorbed and exhausted by the PSU fan.
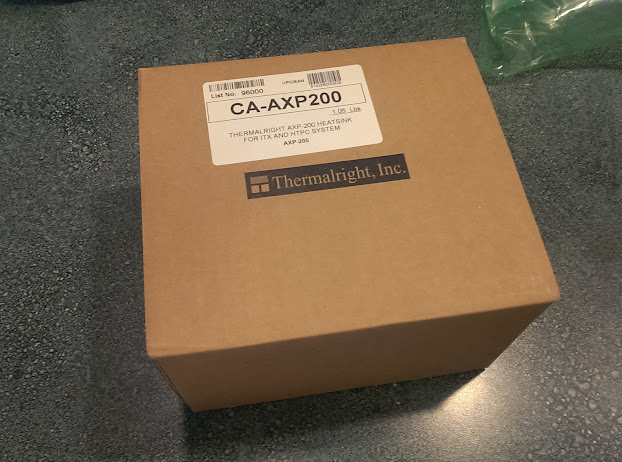
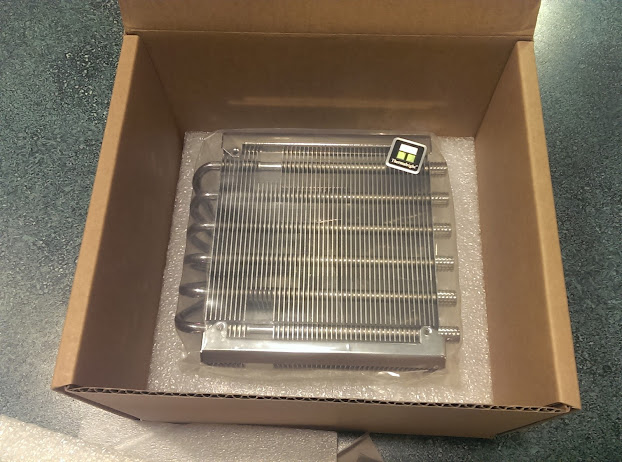
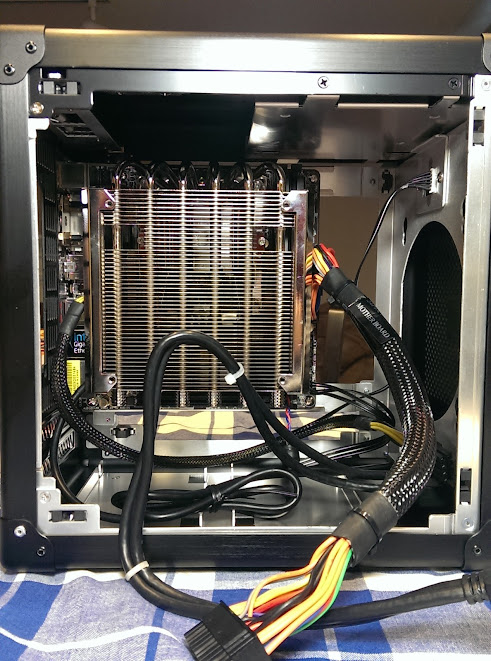
My cooling solution is designed basically around these ideas. There is a great selection of Mini-ITX heatsinks nowadays. I won’t bother talking about each of them. Lian-Li says the maximum heatsink height is 60mm. I picked the largest one that meets the spec – Thermalright AXP-200 is exactly 60mm tall. My impression was that Lian-Li was always conservative on this metric, so I thought AXP-200 would fit perfectly.
It turned out I was wrong.
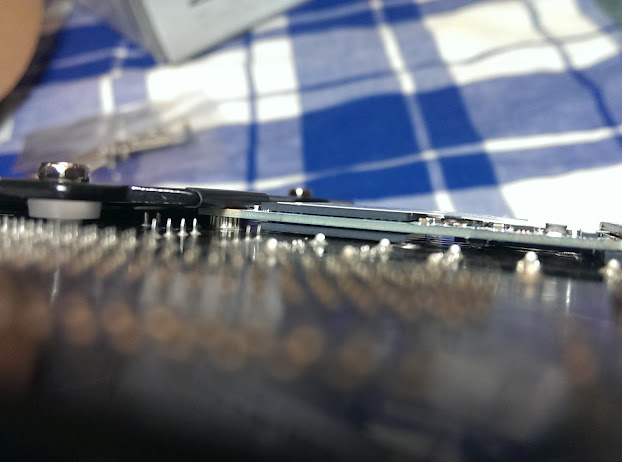
It fits – but not perfectly. This could very well be a rare case – your TU100 and AXP-200 and the SFX PSU might fit just perfectly. The height of AXP-200 is exactly the same as the maximum allowance of TU100, so it really could go either way considering variations in manufacturing. In my case, I think it is the AXP-200 that went wrong. The picture on their spec page seems to suggest the top surface of the heatsink is parallel to the base – so I figure it should be parallel to the motherboard when installed. That was not the case. The end closer to the base is taller than the end with the tips of the heat pipes).
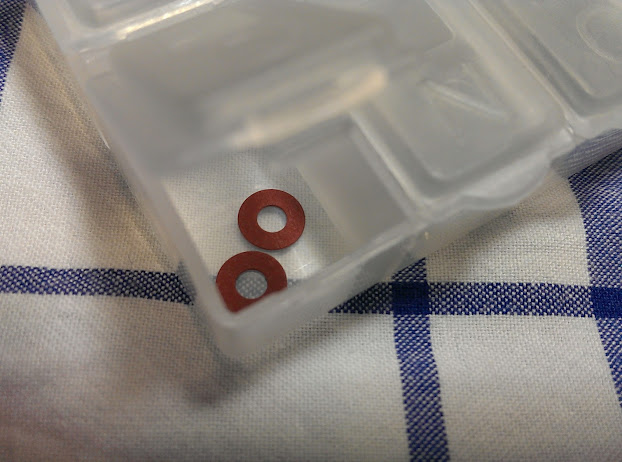
One thing the TU100 lacks is washers for screws – to protect the coating on the cases. Lian-Li has been providing those on newer models. Mine was apparently out of luck but this came in handy:
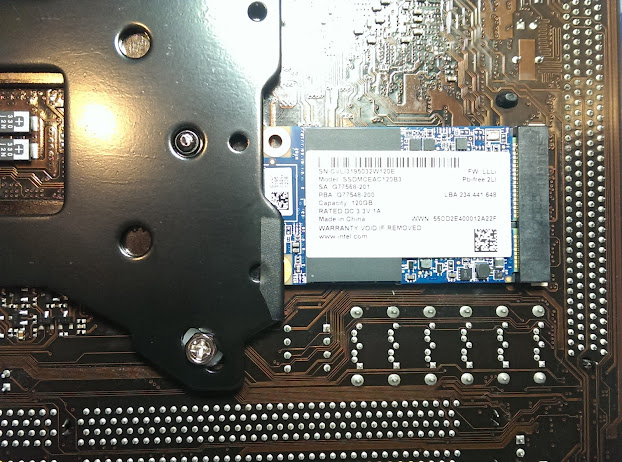
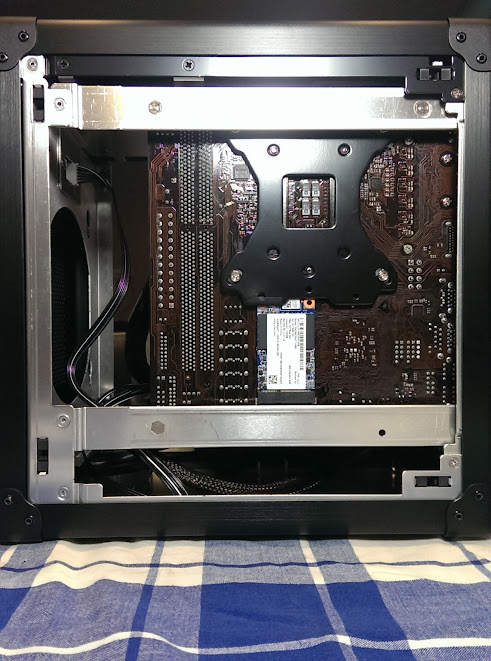
There is another potential issue with AXP-200 – it has a back plate, which might interfere with the mSATA port. I decided to not worry about it, hoping either ASRock or Thermalright would have thought it through. Apparently nodoby had.
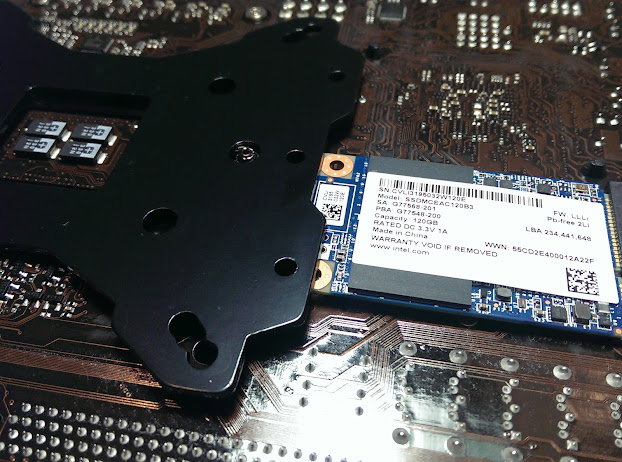
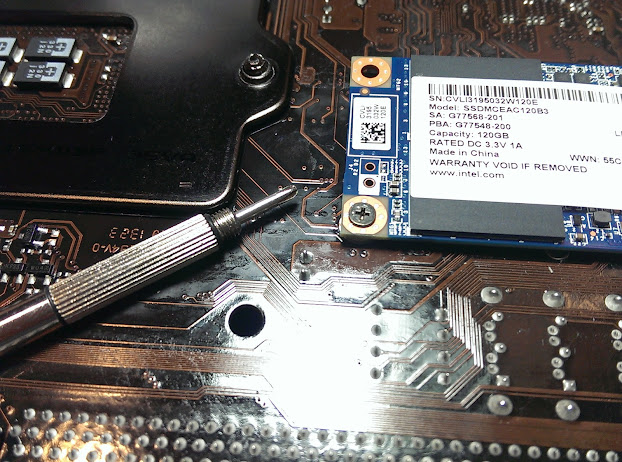
This means I can’t put a screw in. Luckily the screw is not mandatory. The back plate itself can hold the SSD in place just fine. Back plate installation won’t be affected, either. To be safe I went out to buy some duck tape and wrap it around the back plate where necessary.
With back plate issue out of the way the rest of the build went pretty smooth.

how hot doe that thing get?
It doesn’t get hot really. But when the CPU is under load for a while the PSU fan becomes quite noticeable, which is kinda annoying.
I plan to build a sys with this case and the same cooler on a 4770. Would u mind to comment on temp u are getting this AXP-200 (idle and load temps)? Also, it is possible to mount AXP-200 with its pipes horizontally? Thanks o’bunch!
Also, I came across this post… http://www.overclock.net/t/1297303/replacing-psu-fan-in-silverstone-sfx-450w
Did a quick test using wPrime. Below are CPU temps.
Idle temp 32C/90F
Load temp 62C/143F, after running wPrime 1024M (all four cores 100% utilization) for 5+ min
Ambient temp 21C/70F
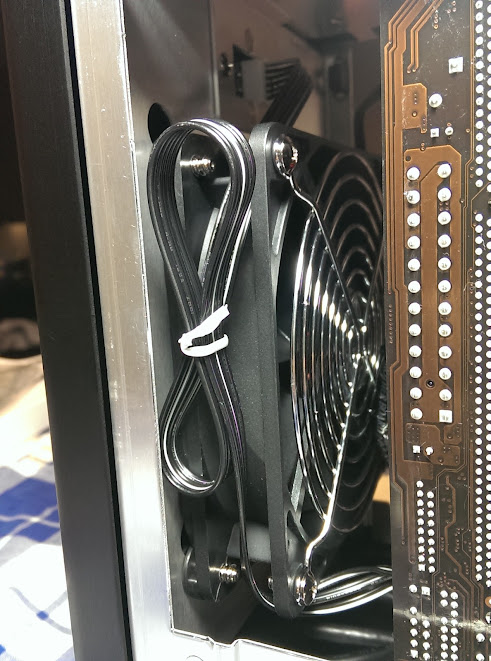
The front intake fan is constant at 600 RPM. It’s a Enermax UCTB12P.
BTW I added a GTX 750 Ti after I wrote this post. It was not given any load and its temp topped at 35C/95F during my 5-minute test.
It’s possible to mount AXP-200 with pipes horizontal, but you might have to remove the intake fan for it to fit in TU100.
See http://www.chiphell.com/portal.php?mod=view&aid=7705&page=5
thanks so much for the temps! Mine will just be a general use box, nothing intense. But there is a need for more graphics, 750 ti will be my choice as well.